IRON NEST: Heavy Turret Simulator Default Keybinds & Shortcuts
The complete default keyboard and mouse scheme —short interactions only; gun laying stays physical.
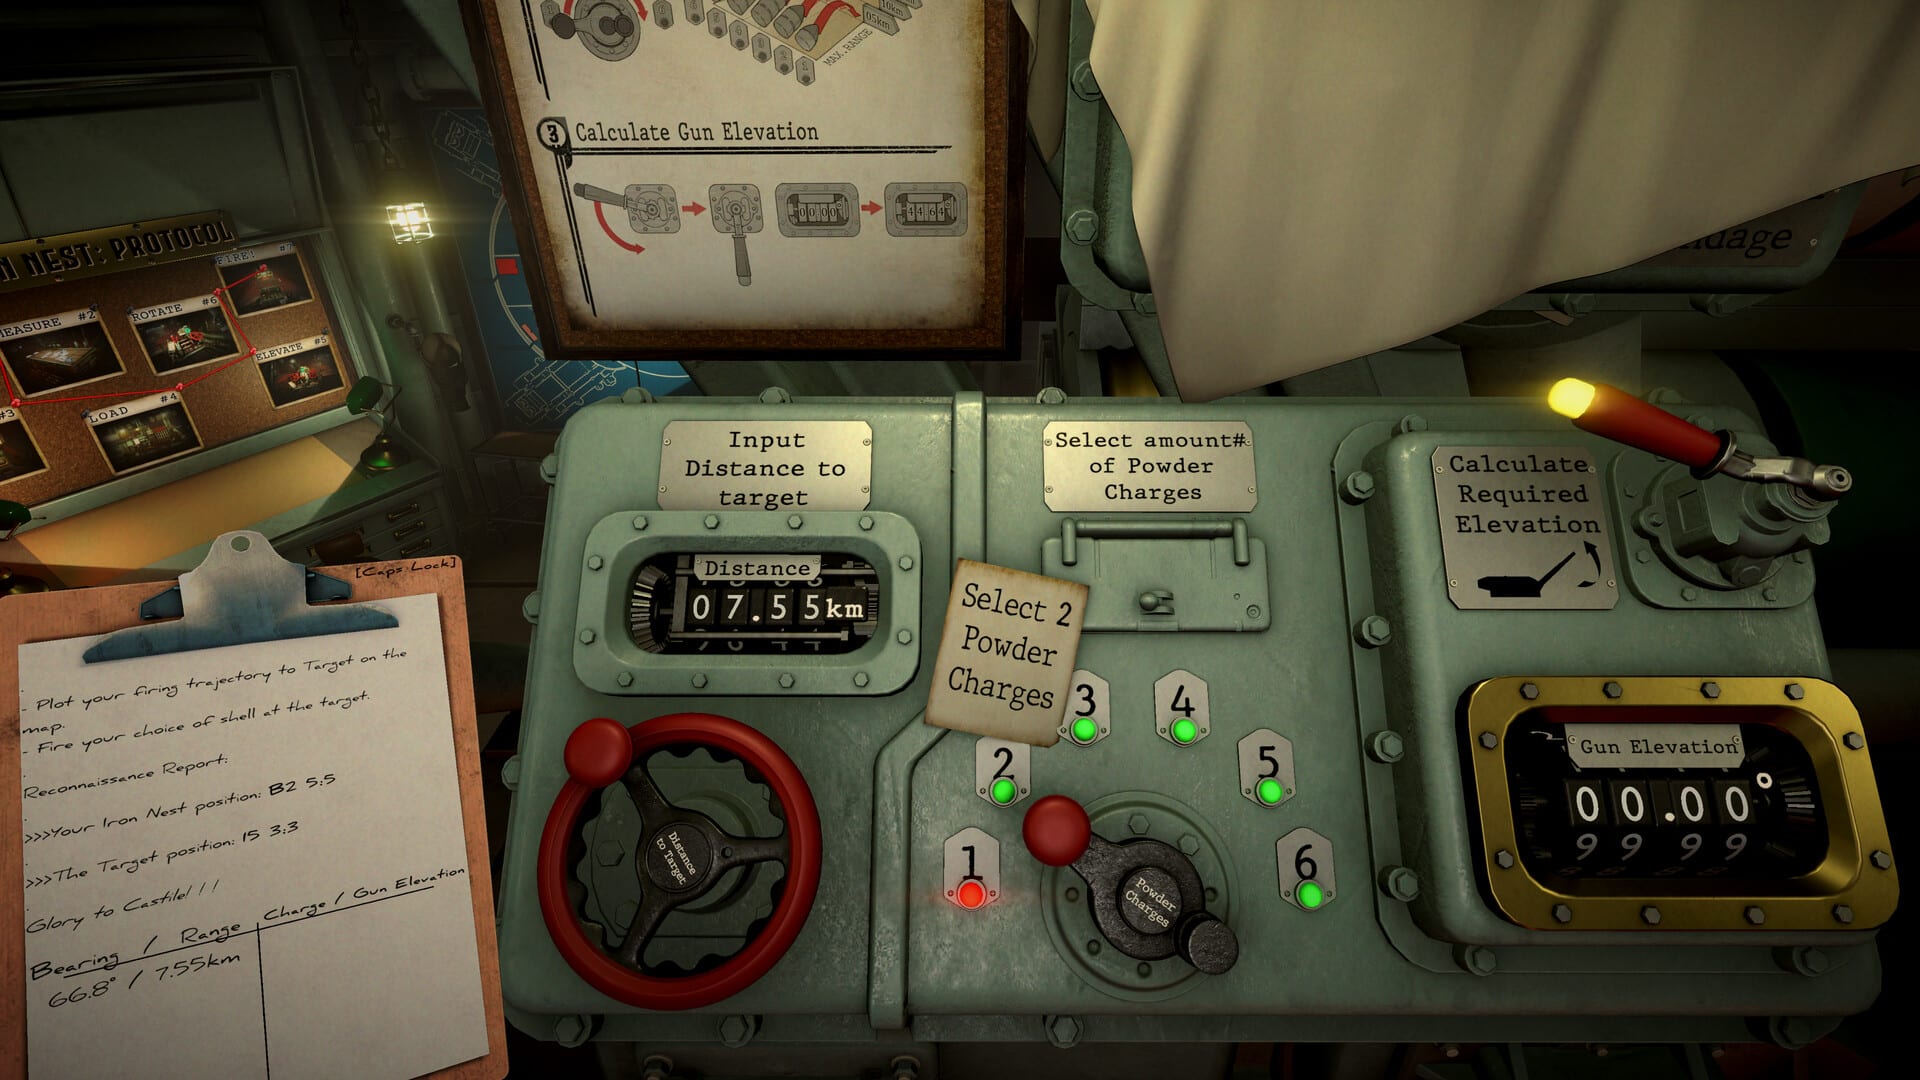
IRON NEST keeps the keyboard deliberately small. You are not steering a vehicle or swapping weapons with number keys —you are a turret operator moving through a dieselpunk cab where almost every meaningful action happens on valves, levers, and dials grabbed with the mouse. The defaults below are what the game ships with; every binding can be changed in the options menu, but learning the stock layout first makes tutorials and community guides easier to follow.
Pair this page with Physical Gun Controls for handwheels and loading handles, and Map Console Tools for plotting table input. New players should also read Getting Started for where each key appears in the first demo mission.
Design philosophy
Developers Nick Nieuwoudt and Dominik Latos describe IRON NEST as a simulator in the strict sense: nothing is automated. Reloading means pulling each handle, engaging the loading bridge, locking the chamber, and feeding powder charges by hand. Keyboard keys exist only where a real crew would reach for a switch or confirm a reading —not where a modern game would offer a one-key “fire” shortcut.
That design choice has a practical benefit. Once you internalize six or seven keys, you stop hunting the manual and start executing the firing loop: read the order, plot the map, calculate charge, load the shell, lay the gun, observe impact.
Keyboard bindings (default)
| Key | Action | Typical use |
|---|---|---|
| E | Interact / Activate | Pull levers, flip switches, press buttons you are looking at; also toggles Map View when used on the map console |
| F | Pick up item | Grab loose objects in the cab —documents, tools, or items highlighted by the interaction prompt |
| G | Equip / unequip gas mask | Protection during chemical missions or when the environment demands it; quick toggle without opening a menu |
| Enter | Confirm / continue | Advance briefings (hold to skip), confirm ballistic calculator entries, and acknowledge gun calculator output |
| Space | Confirm prompt | Secondary confirm on some on-screen prompts where Enter is not accepted |
| Tab | Open clipboard | Review copied teleprinter text, firing data from red pencil measurements, and your own mission notes |
E —the workhorse key
E is the most frequently pressed key in IRON NEST. It activates anything the game highlights when you look at it: teleprinter buttons, map console switches, valve stems you cannot grab directly, and the map view toggle at the plotting table. If a station feels unresponsive, check that your crosshair sits on the interaction prompt before pressing E.
On the map table, E pulls you into map view so you can place tokens, select pencils, and draw measurement lines. Exiting map view uses the same interact pattern on the console. Treat E as “hands on this station” rather than a generic use key.
F —pickup
F handles world objects that are not wired into a fixed lever. You may use it less often than E in the core loop, but missions that scatter intel items or tools across the cab rely on it. If an object glows or shows a pickup hint, F is the default.
G —gas mask
G toggles the gas mask without pausing. Chemical and incendiary orders —covered on the Chemical & Incendiary Shells page —make this binding relevant beyond immersion. Keep the habit of masking before you chamber phosgene-class rounds even when the mission script does not force it.
Enter and Space —confirmation
Enter advances narrative briefings and locks in calculator values. Hold Enter to skip long HQ text when replaying operations. The ballistic calculator and gun calculator both expect Enter after you dial bearing, range, and powder charge.
Space appears on alternate prompts —usually UI confirmations that are not tied to the main calculator flow. If Enter does nothing, try Space once before assuming a bug.
Tab —clipboard
Tab opens the clipboard where teleprinter excerpts, red-pencil firing data, and your own notes accumulate. This is critical for dual-gun operations: keep left and right solutions on separate sides so you do not transpose bearing and range between barrels. See Map Console Tools for how red pencil lines auto-copy to the clipboard.
Mouse bindings (default)
| Input | Action | Notes |
|---|---|---|
| Move mouse | Look around the gun cab | Free look between stations —map table, calculators, loading platform, traverse wheels |
| LMB (hold + drag) | Grab and turn valve / lever | Core gunnery input; traverse, elevation, powder levers, shell selectors, and rammer handles |
| LMB + drag on map | Measure tool | Hold and drag across the map to measure range and bracket a blast area |
| Scroll wheel | Fine-adjust dials | Where a control supports incremental adjustment |
Left-click-and-drag is not optional flair —it is how you lay the gun. Enable Clamp mouse to valves in settings so the cursor stays locked while you turn a handwheel; precision charge and elevation work becomes dramatically easier.
Movement
Standard WASD movement applies inside the cab. You walk between stations rather than teleporting. Plan your path during timed missions so you are not sprinting from map table to loading platform while counter-battery timers run down.
Settings to adjust before rebinding keys
Most operators should tune settings before remapping keys:
- Clamp mouse to valves —on.
- Mouse sensitivity —lower if look speed feels jittery when leaning across controls.
- Additional Primary / Secondary Click —remap only if defaults conflict with your mouse grip.
- Hue Shift —optional palette shift for colour differentiation on map lines and UI accents.
Common mistakes
- Pressing E while looking at empty space —always verify the interaction prompt.
- Trying to traverse with keyboard —traverse is physical; see Physical Gun Controls.
- Ignoring Tab during triangulation —red pencil data copied to clipboard feeds the calculator; retyping invites transposition errors.
- Skipping Enter after calculator input —the gun will not reflect your intended solution.
Where keybinds sit in the firing loop
- Read the teleprinter order (Enter to advance briefing text).
- Walk to the map table (WASD), press E for map view.
- Plot with pencils; red line copies bearing/range (Tab to verify clipboard).
- Confirm ballistic calculator (Enter).
- Walk to loading platform; grab levers with LMB.
- Lay traverse and elevation with LMB on handwheels.
For ammunition choice after controls are set, see Shell Tier List and the Ammunition hub.
Related pages
- Controls hub —overview of all control topics
- Physical Gun Controls —traverse, elevation, and loading sequence
- Map Console Tools —pencils, measure drag, compass
- Getting Started —first-session walkthrough
Frequently Asked Questions
Quick answers to the most common questions.
Can I rebind E interact to another key?
Yes. Open the options menu and remap any listed binding. Community guides assume the default E interact layout, so note your changes when following walkthroughs.
Why does E both interact and toggle map view?
The same activate action applies to world interactions. On the map console, E enters map view; elsewhere it activates the highlighted control or object.
Is there a dedicated fire key?
No. Firing follows the full manual procedure —load, lay, and execute through physical controls and mission-specific triggers rather than a single hotkey.