IRON NEST: Heavy Turret Simulator High-Explosive (HE & HCHE) Shells
The everyday fire mission load —standard HE for single targets, HCHE when blast radius pays for itself.
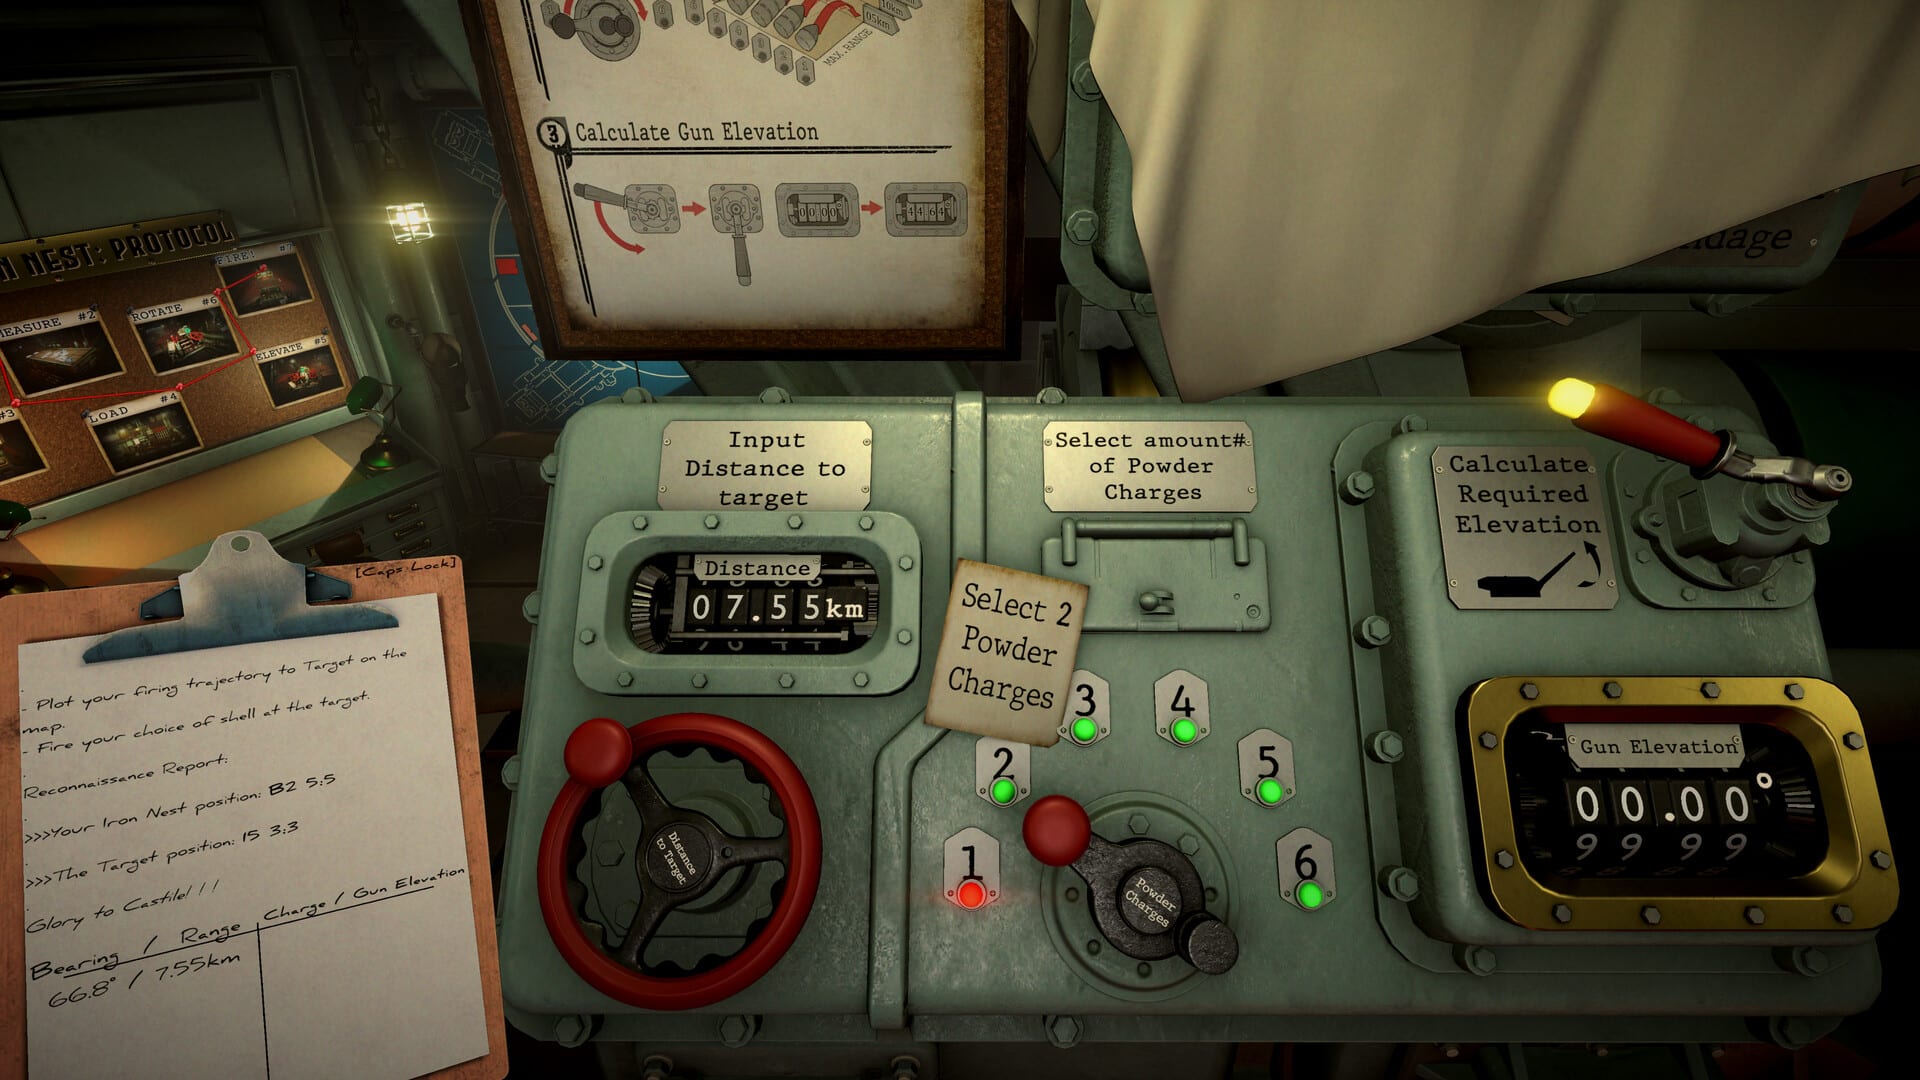
High-Explosive family shells are what most Iron Nest operators chamber day to day. HE is the cheap, reliable fragmentation round for artillery batteries, infantry formations, mechanized columns, and civil-unrest scenarios where High Command wants destruction without chemical authorization. HCHE —High-Capacity HE —trades higher requisition cost for more than double the blast footprint, making it the S-tier pick when two or more valid targets sit inside one bracket or when underground positions need overpressure that standard HE cannot deliver.
Read Shell Tier List for quick tier calls, Armor-Piercing Shells when intel marks hardened targets, and Physical Gun Controls for the loading sequence once shell type is decided.
HE vs HCHE at a glance
| Property | HE | HCHE |
|---|---|---|
| Blast radius | Moderate (~baseline reference) | Wide (~2×+ HE in practical missions) |
| Damage profile | Standard fragmentation | High-capacity burst / overpressure |
| Requisition cost | Low (everyday credits) | Higher per round |
| Best targets | Single soft points, guns, tents | Clustered enemies, buried caches |
| Friendly risk | Manageable with clean map | High —verify no blue tokens in radius |
Both share the same powder-charge range table. Charge selects distance; shell selects effect at impact.
When to load standard HE
HE is S-tier when:
- One primary soft target occupies a single grid focus.
- Counter-battery against exposed artillery.
- Mechanized targets without hardened armor flag.
- Mission grading rewards minimal collateral.
HE is the default when the teleprinter says “fire for effect” without naming a specialty round.
When to upgrade to HCHE
Switch from HE to HCHE when:
- Two or more enemy tokens fall inside one HCHE radius —one shot beats two HE sequences and saves mission time.
- Underground supply caches or buried positions —overpressure reaches where surface HE splashes harmlessly.
- Dense infantry clusters during assault phases —wide burst clears squads HE would leave wounded.
Before firing HCHE, use measure drag on the map —Map Console Tools —to confirm friendly forces sit outside the blast circle. Friendly-fire investigations end careers faster than misses.
When HE loses to other shells
| Situation | Better choice |
|---|---|
| Fortified bunker face | AP —Armor-Piercing Shells |
| Night observation only | STAR —Smoke & Star Shells |
| Concealment screen | SMK —same page |
| Order-specified chemical ROE | PGAS —Chemical & Incendiary Shells |
Loading HE against a palace bunker wastes a shot and invites a second fire mission under timer pressure.
Plotting for HE family rounds
HE tolerates slightly sloppier sub-cell work than AP but still fails on wrong bearing.
- Complete triangulation with yellow pencil if spotters only give partial data.
- Mark target with red token at confirmed sub-cell.
- Red pencil line Nest-to-target; Tab clipboard check.
- For HCHE, optionally measure blast bracket with LMB drag on map before committing.
- Calculator —load platform —lay gun.
Loading HE and HCHE
The physical steps are identical; only the shell selector position changes:
- Pull shell selector lever until HE or HCHE aligns at the magazine front.
- Ram with Shell Rammer handle.
- Load powder charge levers matching calculator output —typically identical whether HE or HCHE.
Mis-selection between HE and HCHE is a common error because both sit on the same rack row. Read the label through the gauge window before ramming.
Credit and requisition math
Demo economy rewards HE spammers on easy missions but punishes them on tight budgets:
- Fire two HE shots when one HCHE would clear both targets —negative efficiency.
- Fire HCHE on a lone tent —overpay versus one HE credit.
When orders cap credits, plan the rack before leaving the map table.
Dual-gun HE workflows
- Independent soft targets —HE on both barrels with separate clipboard sides.
- Hardened + soft —AP left, HE right (see armor page).
- HCHE + HE follow-up —HCHE first on cluster, HE second on survivors outside radius only if timer allows.
Correction patterns
HE misses often trace to charge error, not shell choice:
- Short/long impact —adjust powder charge or elevation.
- Lateral miss —re-check traverse against red pencil bearing.
- Low damage on target still standing —target may be hardened; switch to AP on next volley, not more HE.
Star shell illumination —Smoke & Star Shells —before HE correction is standard on night operations.
Operation-specific notes
Counter-battery timers favor HE first shot unless intel confirms grouped pieces. Liberation-style missions with mixed infantry and guns often reward one HCHE on the cluster plus AP on a bunker token marked separately on the map.
Cross-read Getting Started for demo mission two when triangulation unlocks full HE workflow.
Related pages
- Shell Tier List —HE/HCHE tiers by target
- Ammunition hub —all nine shell types
- Armor-Piercing Shells —when HE fails
- Map Console Tools —radius measure drag
- Physical Gun Controls —loading levers
- Controls hub —input reference
- Guides hub —mission-specific loadouts
Frequently Asked Questions
Quick answers to the most common questions.
What is the difference between HE and HCHE in IRON NEST?
HE is the standard fragmentation round for single soft targets. HCHE carries a larger burst charge and wider blast radius for clustered or buried targets at higher requisition cost.
Should I always carry HCHE?
No. HCHE is S-tier when blast radius catches multiple targets or underground positions. For lone soft targets, HE is cheaper and sufficient.
Can HCHE damage friendly units?
Yes. Wide radius rounds can hit blue friendly tokens inside the blast circle. Measure on the map and clear friendlies before firing.