IRON NEST: Heavy Turret Simulator Armor-Piercing (AP) Shells
The bunker-cracker —highest direct damage, smallest blast, and the only round that reliably kills hardened targets.
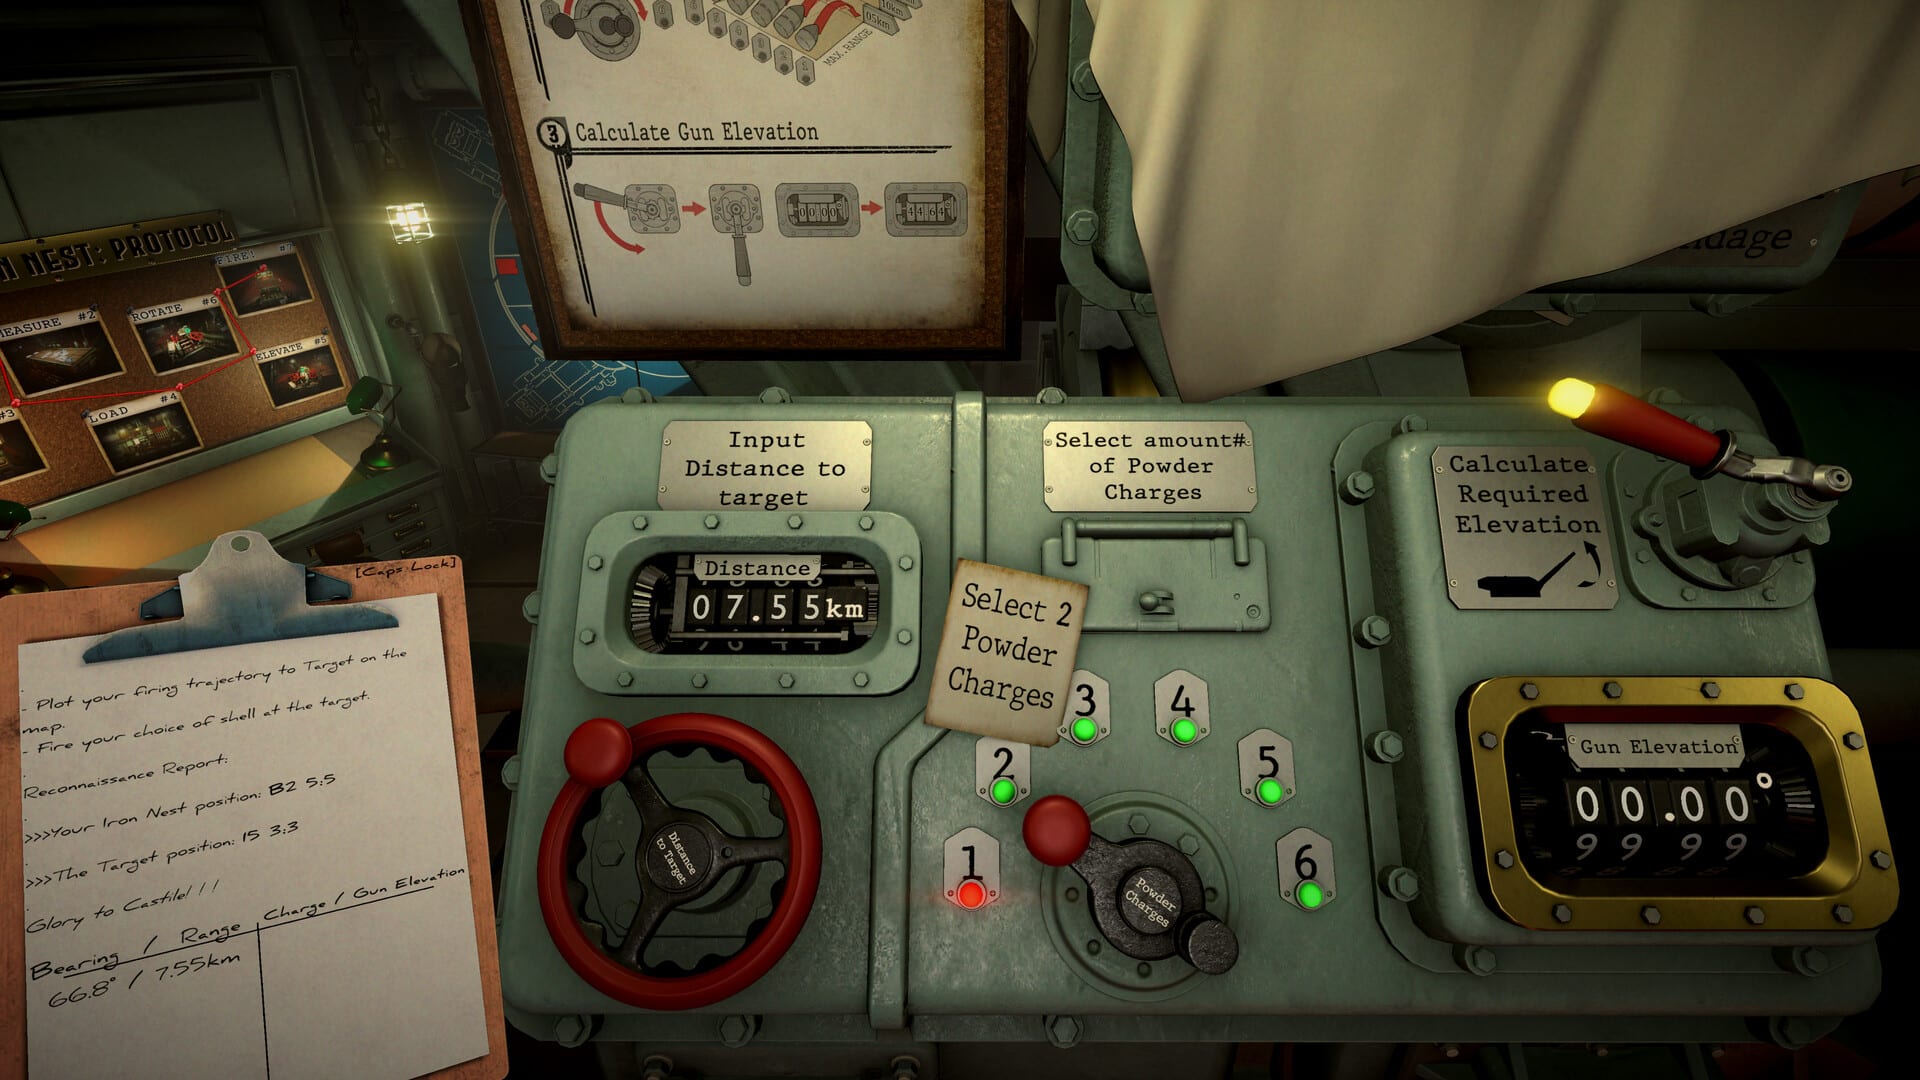
Armor-Piercing shells are the precision instrument on the Iron Nest rack. Where High-Explosive rounds splash fragmentation across a grid square, AP concentrates kinetic effect on a point target. In ballistics data extracted from current builds, AP is the only shell with a damage value above baseline paired with the smallest blast radius on the table —a combination purpose-built for bunkers, palace walls, armored vehicles, and buried fire-direction centers that shrug off HE splash.
This page explains when AP is mandatory, when it is wasted requisition, and how to load it on the physical platform after map plotting. Start with Shell Tier List for tier context, then read High-Explosive Shells for the soft-target alternative.
AP ballistics profile
| Stat | Typical value | Implication |
|---|---|---|
| Damage | Highest in roster | Reliable kill on hardened single points |
| Blast radius | Smallest | Minimal collateral —good near friendly lines if aim is true |
| Dispersion | Tight | Demands accurate bearing and sub-cell plotting |
| Range table | Shared with all shells | Powder charge 1— still sets max reach |
Powder charge does not change because you selected AP. Dial charge from the ballistic calculator exactly as you would for HE —see Physical Gun Controls for the six charge levers.
When to load AP (S-tier targets)
Load AP when the target class includes:
- Concrete bunkers and hardened shelters —surface HE bursts leave structure intact.
- Armored units —tanks and mechanized targets flagged as armored in mission intel.
- Palace or fortress segments —narrative missions with reinforced walls.
- Buried FDC nodes —when intel marks hardened underground command, AP sometimes outperforms HE on the entry point; paired HCHE may follow on the second gun for interior effect.
High Command often names AP explicitly in teleprinter orders for these missions. Deviation fails grading.
When AP is the wrong choice (B-tier)
Avoid AP for:
- Massed infantry in the open —pinpoint damage does not cover spread-out squads.
- Wide soft targets —tents, supply dumps without armor rating.
- Area denial —use chemical or incendiary families on Chemical & Incendiary Shells.
- Illumination or smoke tasks —Smoke & Star Shells own those roles.
Loading AP against a tent camp works eventually but burns time and credits compared to one HE or HCHE round.
Plotting precision before AP fires
AP punishes sloppy map work more than HE because the blast window is tiny.
- Triangulate with yellow pencil lines —Map Console Tools.
- Mark the hardened face or sub-cell center with a red target token.
- Draw the red Nest-to-target line from the turret spike on the map model.
- Confirm bearing and range on clipboard (Tab) before calculator entry.
- Verify sub-cell coordinates match intel —F10 8:0 precision matters.
A miss with AP often looks like “the bunker ate the shot” when the round struck an adjacent cell.
Loading AP on the platform
Work left to right on the loading bridge:
- Shell selector —pull the lever until AP sits at the front position under the Shell Selector System Pressure gauge.
- Rammer —pull the Shell Rammer handle right until chamber pressure stabilizes.
- Powder charges —load the charge count from the calculator, not from habit.
Double-check the selector window through the gauge glass before ramming. AP and HE housings look similar from a distance; ramming the wrong type forces a full unload cycle during timed counter-battery work.
Dual-gun AP tactics
Common pairings when one hardened and one soft target appear in the same operation:
- Gun left: AP on bunker face.
- Gun right: HE on exposed infantry or secondary structure.
Keep clipboard sides separated —Default Keybinds —so bearing pasted into the calculator matches the barrel that actually loaded AP.
AP vs HCHE on underground targets
Mission text sometimes leaves choice open. Rule of thumb:
- Known hardened entry or wall section —AP first.
- Suspected buried chamber with unknown depth —HCHE for overpressure (see High-Explosive Shells).
When unsure, read the teleprinter for keywords like “fortified,” “armored,” or “bunker” —AP language is deliberate.
Requisition and inventory
AP typically costs more than baseline HE but less than wide-area specialty loads. Carry at least one AP round mentally reserved when entering operations with bunker intel even if the current fire mission is soft —swapping shells mid-timer is expensive.
Correction after AP miss
If impact shows short or long but line of bearing looks correct:
- Adjust powder charge or elevation, not shell type.
- If impact slides sideways along the bunker face, re-check traverse against clipboard bearing —yellow pencil comparison lines help.
Switch to HE only if intel was wrong and the target was never hardened.
Related pages
- Shell Tier List —AP tier by target type
- Ammunition hub —full rack overview
- High-Explosive Shells —when HE beats AP
- Physical Gun Controls —selector and rammer
- Map Console Tools —plotting precision
- Getting Started —first demo loads
- Guides hub —bunker operations walkthrough
Frequently Asked Questions
Quick answers to the most common questions.
Why does HE bounce off bunkers but AP does not?
AP combines higher direct damage with a focused blast footprint designed for penetration. HE spreads fragmentation that hardened surfaces absorb or deflect.
Does AP reach farther than other shells?
No. All shells use the same powder-charge range table. Only terminal effect differs.
Can I use AP on infantry in a pinch?
Yes, but it is inefficient. HE or HCHE clears squads faster and cheaper unless infantry is inside a hardened shell you must pierce.