IRON NEST: Heavy Turret Simulator IRON NEST Controls
Keyboard shortcuts, physical cab interactions, and map console tools —everything between you and a clean firing solution.
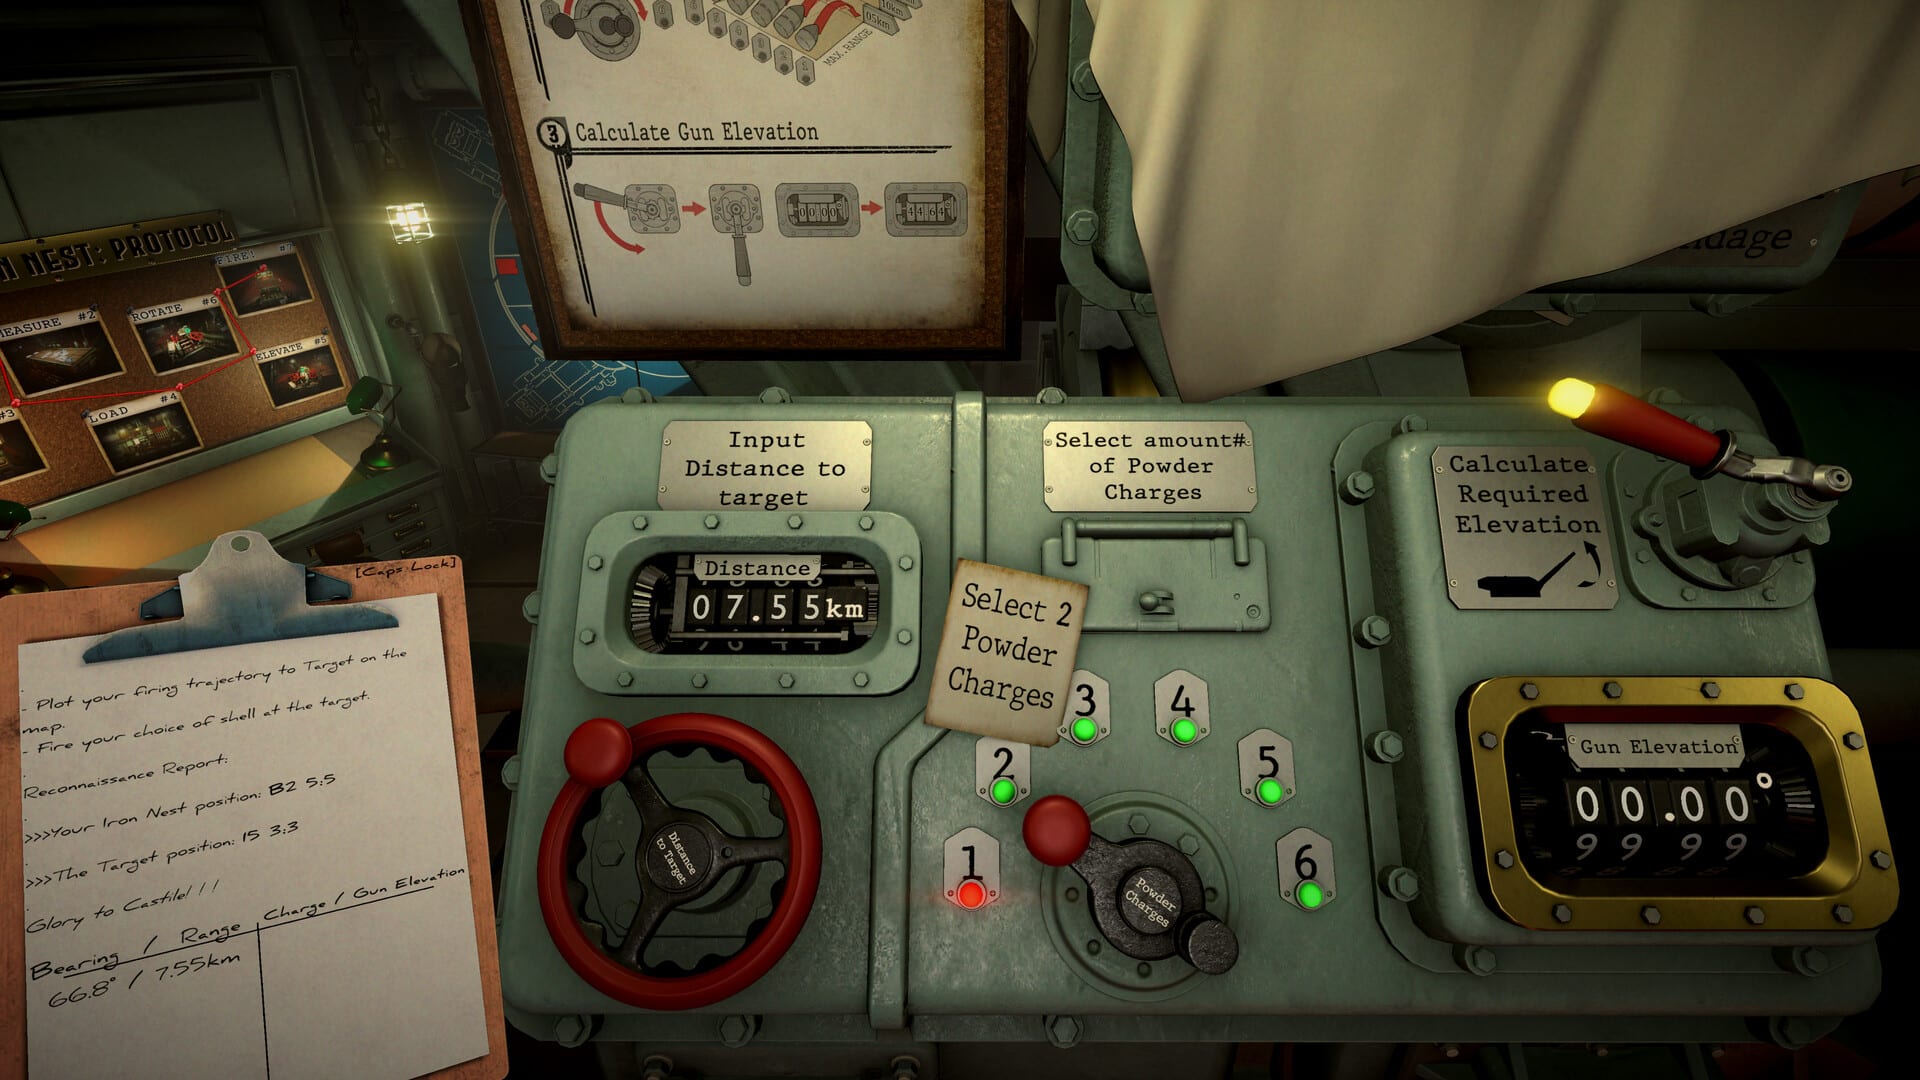
Operating the Iron Nest is deliberately manual. High Command sends coordinates through the teleprinter, but nothing fires until you walk the cab, turn the wheels, plot the map, and load the right shell. This hub collects every control reference on the wiki so you can move from first demo launch to confident counter-battery work without guessing which key does what.
If you have never touched the turret before, start with the Getting Started guide for the full firing loop, then return here whenever you forget a bind or need to refine how you handle the map table.
What you control in IRON NEST
IRON NEST splits input into three layers that mirror real artillery crew work:
- Keyboard shortcuts for quick interactions —picking up items, toggling the gas mask, confirming calculator entries, and opening the clipboard.
- Mouse-driven physical controls inside the gun cab —traverse and elevation handwheels, shell selector levers, powder charge handles, and rammer systems.
- Map console tools at the plotting table —map view toggle, colored pencils, measure drag, compass arcs, and token placement for triangulation.
Most mistakes in the demo come from treating the game like a shooter. You are not aiming with crosshairs; you are executing a procedure. The keyboard gets you to the right station; the mouse does the actual gunnery.
Controls pages on this wiki
| Page | What it covers |
|---|---|
| Default Keybinds | Every default keyboard and mouse binding —E, F, G, Enter, Tab, LMB grab |
| Physical Gun Controls | Traverse, elevation, loading bridge, shell rammer, and powder charge levers |
| Map Console Tools | Map view, red/yellow/white pencils, measure drag, compass, and clipboard workflow |
Read Default Keybinds first if you are learning the demo. The list is short, but each key sits at a specific step in the loop. Once keys feel natural, move to Physical Gun Controls —that is where most time is spent between orders.
Recommended learning order
New operators benefit from this sequence:
- Skim this hub so you know where each topic lives.
- Memorize Default Keybinds —especially E interact, F pickup, G gas mask, Enter confirm, Tab clipboard, and LMB grab for levers.
- Practice traverse and elevation on the physical wheels before your first live fire mission.
- Learn the map pencils and measure tool on the Map Console Tools page before Operation 2 triangulation.
- Cross-read Shell Tier List so control practice connects to ammunition choice.
Settings worth changing early
Bindings are fully rebindable in the options menu, but two settings matter more than remapping keys on day one:
- Clamp mouse to valves —locks the cursor onto a handwheel while you turn it. Strongly recommended for precise powder charge and elevation dialing.
- Mouse sensitivity —lower look speed if cab movement feels twitchy when you lean across the loading platform.
Optional quality-of-life tweaks include remapping primary/secondary mouse buttons if grab actions fight your grip, Hue Shift as the closest colourblind aid in current builds, and V-Sync if screen tearing distracts you during long plotting sessions.
How controls connect to ammunition
Control knowledge alone does not win missions. After you plot bearing and range on the map, you still choose a shell and dial powder charge on physical levers. The Ammunition hub explains which round fits each target type; Physical Gun Controls shows the loading sequence left-to-right on the gun platform.
Wrong shell with perfect aim still wastes requisition. Wrong charge with the right shell still falls short. Controls and ammunition pages are designed to be read together.
Dual-gun clipboard habit
When both barrels are active, keep firing data separated on the clipboard —one side per gun. Mixing left and right solutions is a common source of corrected fire that lands nowhere near the intended grid square. The Map Console Tools page walks through red pencil lines that copy bearing and range automatically so you spend less time retyping numbers into the ballistic calculator.
Related guides
- Guides hub —walkthroughs for the full firing loop, demo limits, and mission structure
- Getting Started —day-one checklist from first boot to first confirmed hit
- Shell Tier List —which ammunition to chamber after controls are set
Return to this hub whenever a patch adds new stations or rebinding options. IRON NEST is built around tactile interaction; knowing where each control lives saves more time than raw reflex speed ever will.
Frequently Asked Questions
Quick answers to the most common questions.
Are IRON NEST controls rebindable?
Yes. Open the options menu to remap keyboard and mouse bindings. The pages in this hub document the default scheme so you have a baseline before customizing.
What is the most important control to learn first?
Left-click grab on physical levers and wheels. Gun laying is mouse-driven; keyboard keys only handle short interactions like E to activate and Enter to confirm calculator entries.
Where do I learn map plotting controls?
See the Map Console Tools page for red, yellow, and white pencils, measure drag, compass arcs, and how firing data copies to the clipboard via Tab.