IRON NEST: Heavy Turret Simulator Ammunition & Shell Reference
Nine shell types, one range table —pick effect first, powder charge second, then load on the physical platform.
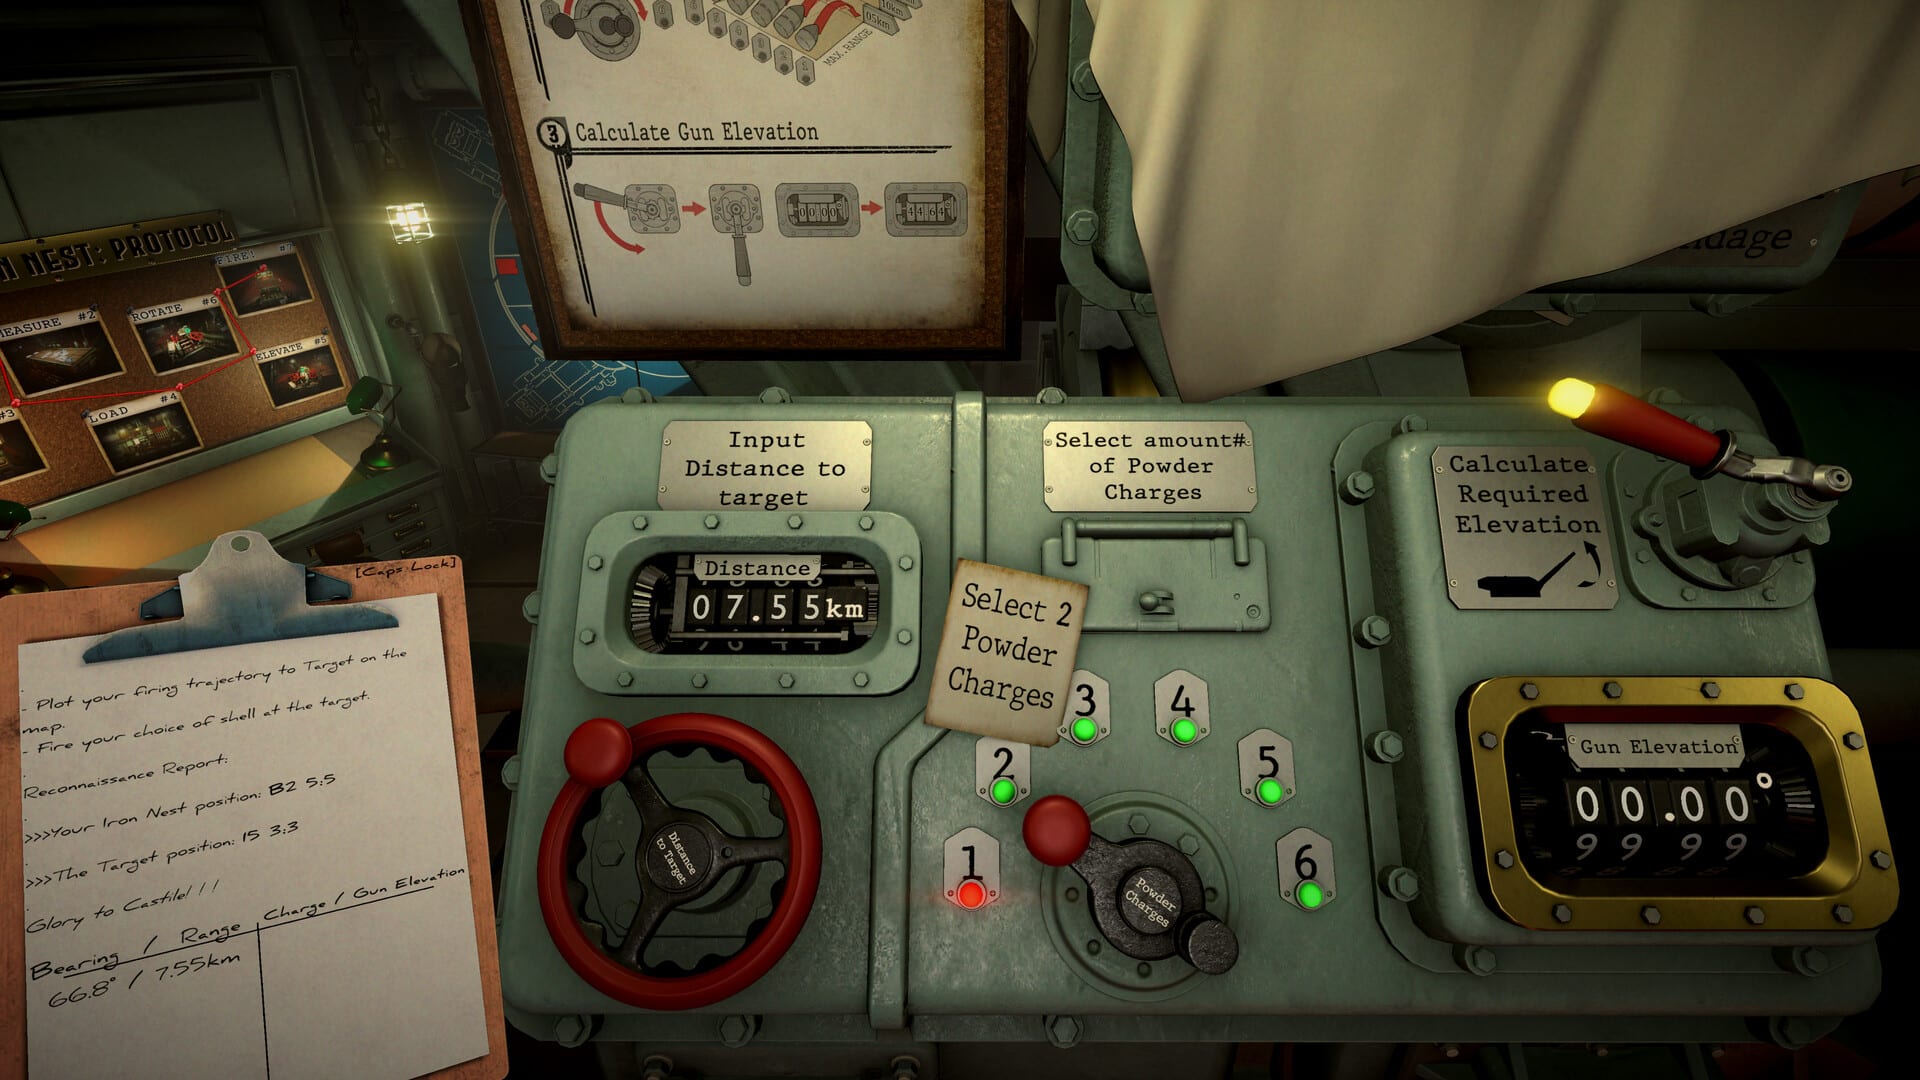
Every round in IRON NEST shares the same powder-charge range table. What changes between shells is blast radius, damage profile, and battlefield role. Loading HE when the mission demands AP against a bunker wastes requisition and often fails the objective outright. Loading AP against massed soft targets works, but slowly —you are paying precision cost for area effect you do not need.
This hub routes you to tier rankings and deep dives on each shell family. Read Shell Tier List first for S/A/B rankings against target types, then open the specialist pages when High Command leaves ammunition choice to you or when you need to understand trade-offs before spending credits.
How ammunition fits the firing loop
Shell selection sits after map plotting and before physical loading:
- Plot bearing and range on the map —Map Console Tools.
- Confirm powder charge on the ballistic calculator —charge sets range, not shell type.
- Choose shell by target role —this hub and the tier list.
- Execute the loading platform left-to-right —Physical Gun Controls.
- Lay traverse and elevation, observe impact, correct if needed.
New operators should walk the full loop once in Getting Started before optimizing loadouts.
Nine shell types at a glance
The Iron Nest rack currently exposes nine entries in demo and early access builds. Seven see regular mission use; others appear for future operations or training.
| Shell | Code | Primary role |
|---|---|---|
| Armor-Piercing | AP | Bunkers, hardened structures, armored targets |
| High-Explosive | HE | General soft targets, artillery batteries, infantry |
| High-Capacity HE | HCHE | Clustered targets, underground positions, wide blast |
| Smoke | SMK | Concealment and sightline denial |
| Star / Illumination | STAR | Night observation and area lighting |
| Phosgene Gas | PGAS | Chemical area denial vs unarmored personnel |
| Tear Gas | TGAS | Non-lethal suppression and dispersal |
| Pyro / Incendiary | PYRO | Fire and flushing entrenched positions |
| Empty | EMPT | Practice / no payload |
Powder charge one through six maps to range bands one through thirty on the standard firing table. Shell choice does not alter that table —only terminal effect changes.
Pages in this category
| Page | Focus |
|---|---|
| Shell Tier List | S/A/B rankings by target type —start here |
| Armor-Piercing Shells | AP vs bunkers and hardened points |
| High-Explosive Shells | HE and HCHE for everyday fires |
| Smoke & Star Shells | Concealment and illumination |
| Chemical & Incendiary Shells | PGAS, TGAS, and PYRO roles |
Requisition and mission constraints
High Command sometimes specifies shell type in the teleprinter order. When it does, deviating fails mission grading or triggers friendly-fire investigations. When orders are silent, use the tier list and credit costs —HCHE costs more than HE but can delete two adjacent targets in one shot if radius discipline allows.
Some chemical and smoke rounds appear on the rack before missions reward their use. Keep them in mind for later operations rather than assuming unused inventory is broken.
Blast radius vs damage
AP carries the highest direct damage value and the smallest blast footprint —built for point penetration. Pyro, smoke, and tear gas trade raw damage for maximum radius. HCHE sits between HE and area-denial rounds for overpressure against grouped enemies.
Misreading the radius table causes friendly casualties inside the blast circle. Always check blue friendly tokens on the map before chambering HCHE or wide-area chemical loads.
Dual-gun loadout thinking
Independent barrels can carry different shells simultaneously. Common pairings:
- AP on one gun for a bunker, HE on the other for exposed infantry nearby.
- STAR for illumination followed by HE correction on the second barrel.
- HCHE only when both targets fall inside one radius —never split charges across two HCHE shots when one suffices.
Keep clipboard sides separated per gun —see Default Keybinds —so calculator entries match the loaded shell on each barrel.
Controls reminder
Ammunition knowledge without loading discipline fails in the cab. Shell selector lever, rammer handle, and powder charge banks are all physical —summarized on Physical Gun Controls and keyed in Default Keybinds.
Related guides
- Guides hub —mission walkthroughs and demo progression
- Getting Started —first shell load in context
- Controls hub —map and loading station input
The full game roadmap mentions more than thirty unlockable ammunition types over time. This hub tracks confirmed demo and launch-window shells; update pages when patches add new rack entries or change requisition pricing.
Frequently Asked Questions
Quick answers to the most common questions.
Does shell type change maximum range?
No. All shells share the same powder-charge range table. Shell choice determines effect and blast radius at the target, not how far the round can reach.
Which shell should I load first as a new player?
HE for general targets until you can identify bunkers and armor that demand AP. See the Shell Tier List for quick S-tier picks per target class.
Why are smoke and tear gas on the rack if missions never ask for them?
Those mechanics are wired for future operations. They appear in inventory early so systems are ready when later campaign content activates them.